
Diary of a Farmer's Daughter
Happy Summer
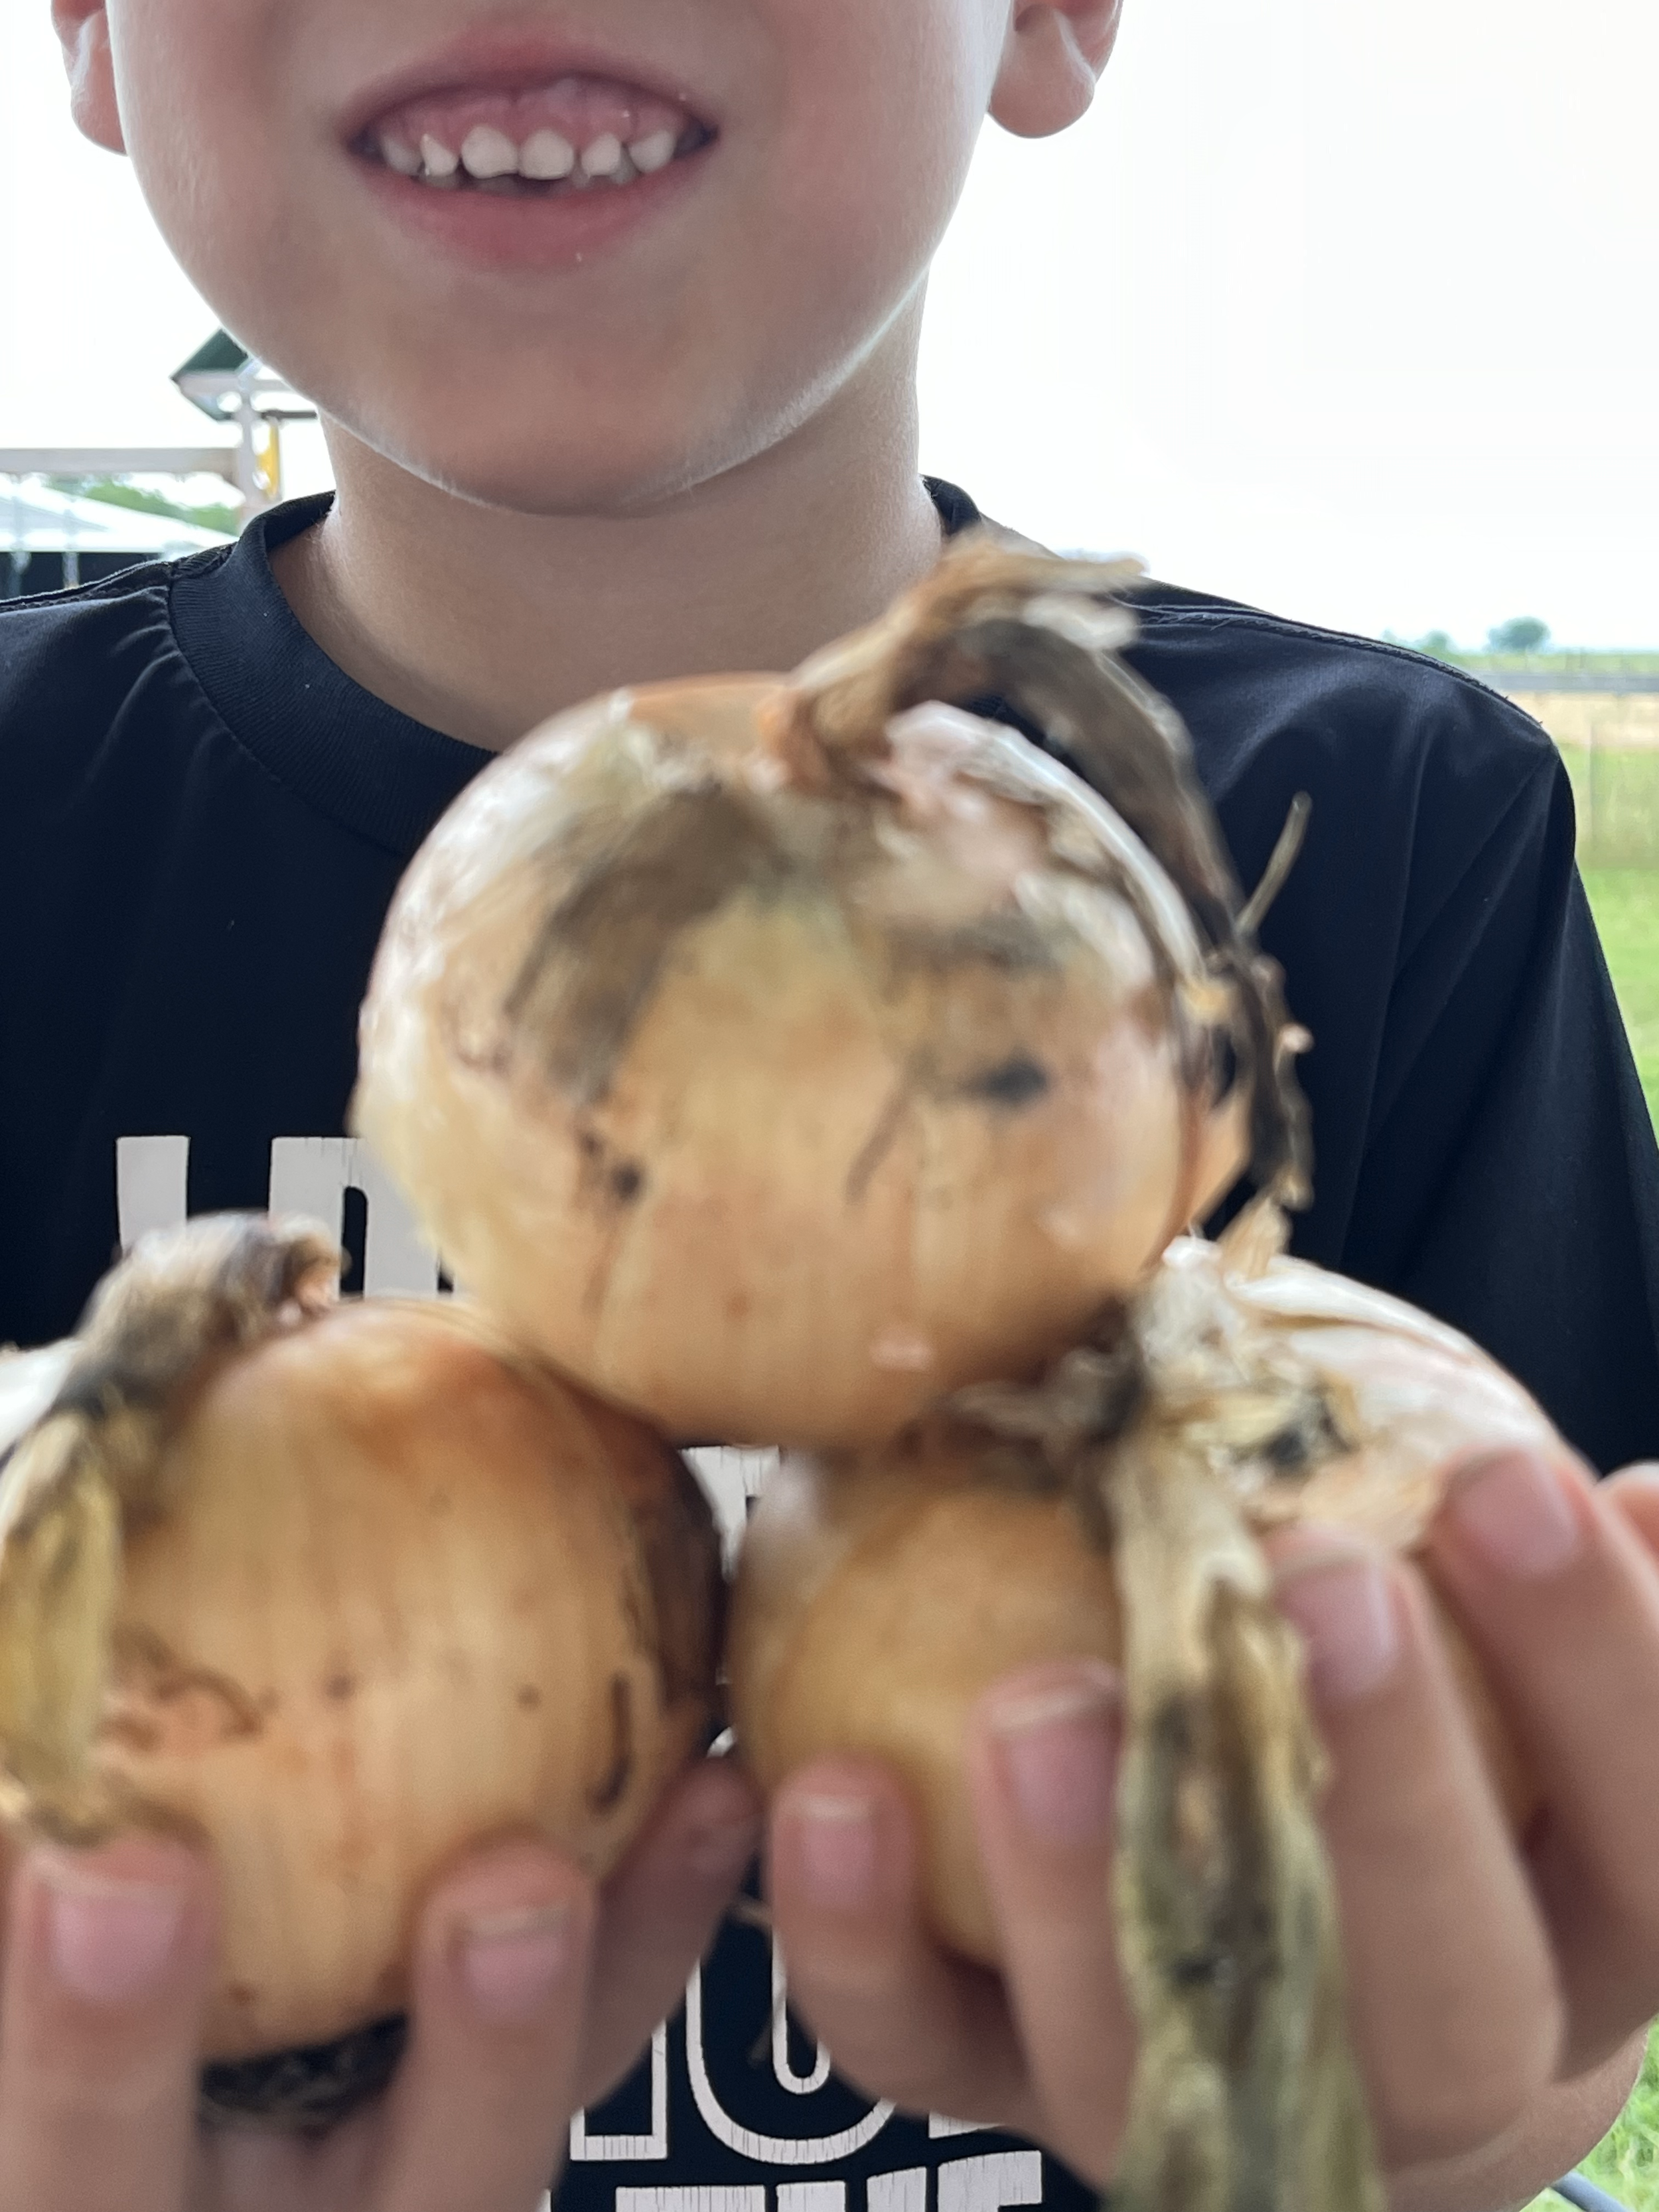
Kids are out of school. Camps are starting up. Allergies are clearing out. The sun is bright! We like so many others have had a bunch of rain. It's been such a blessing. The Pick Your Own had a number of troubles, but the produce has starting coming it very well. Our irrigation is still not working right, but like we said, this rain has been such a blessing. I'll come back to the produce though.
Our calving season ended, breeding season started and ended, and now we are in weaning. We check the calves and mommas for problems. Specifically for physical problems like hooves, or improper weights. Grazing is really good right now, so the cattle are getting moved around as much as they can keep up with the grass. The chickens are back to laying well, so we have an abundance of eggs again.
The bees had a bit of a rough winter, so we didn't get as much honey as we hoped, but they are still strong hives, and had a great spring. Hopefully we will be able to get some honey again at the next harvest. We got the baler belts replaced, but there is always something else to fix. Hay season will be starting up soon, and we will continue to be busy.
Our plan for the Pick Your Own was to have everything ready for harvest at the same time. Sally planned it all out, had it scheduled, and got everything started on time. She worked so hard, but too many things didn't germinate in time. The broken irrigation system didn't help. We are getting produce. It's beautiful, colorful, fresh, and pesticide/herbicide free.
Our plans have had to change in selling them though, so now we are offering them for free. If you purchase them online for delivery, we ask that you also buy other products, totaling $50+, to make delivery more doable. If you come pick them up, we ask that you "buy" them online to keep our inventory up to date.
If you would like to purchase produce, here are the steps to do so: Online with Delivery:
- Select from the Steak, Eggs, Produce, Wood products online to complete a cart of $50 or more.
- Check out, and be sure to select the Shipping option "Store Pickup"! It is our free delivery option for our local customers.
- Complete payment and wait for your delivery.
Pickup:
- Tuesday Evenings between 5 and 6pm, come to JM2 at 468 Matthews Rd Venus, TX 76084. If maps takes you to a locked gate, continue south on Matthews to the brick entrance with a black gate.
- Follow the driveway toward the house, but turn right to go to the barn. Park anywhere
- Go through the front door, the door on the left, turn right, past the ladder, and to the first white door on the right.
- Select the produce you would like to take home. Whatever you select, please go onto the website and "purchase" it with the shipping item "Store Pickup". It is still free, but will help us to maintain the inventory counts.
No matter how you decide to get your produce, let us know how the experience goes. We want to make this as easy as possible for everyone. Anything not purchased will be taken to a food pantry before it goes bad.
Field Trips
Have your kids ever been to a working farm? A farm that makes it's main source of income from producing farm products? We would like to extend an invitation to come and learn where our food comes from. Tell your school teachers, and your homeschool groups to book a trip. We tend to fill up quickly.

Losing Weight #8

It's been a while since I posted about my weightloss journey, so I thought I'd do another one. An earlier post was about how to accept that losing weight takes time. They always talk about "it didn't go on over night, so it's not going to come off overnight". Well, I tend to struggle a lot with that.
The last year has been very difficult. I had gotten down to nearly 35 lbs within my goal before getting pregnant with Little Monster. Pregnancy is always hard on the momma's body, but my anxiety and nausea seemed to take dietary control to a whole new level of difficult. I all but abandoned my attempts to focus on my health for an effort at comfort.
We had Little Monster in February of 2024, and I tried to start up my control again. Problem #1: I have PCOS. This means my hormones are typically out of whack. If you see any weight loss commericals now adays, you might be aware that that can cause all kinds of weight trouble. Problem #2: PCOS often seems to cause Insulin Resistance, meaning ultimately that the sugar in your blood doesn't get used by the cells and instead gets stored as fat.
At the time of starting this again, I had gained about 25lbs back. It's been a year, and I'm trying very hard. I'm only down about 10 of that 25. Mema is gracious enough to make lunch for the group every day. As they should not have to eat the limited diet I am eating, it is very difficult to avoid the delicious breads, potatoes, and other tasty bits that I am supposed to stay away from. Then having children in the house means their snack foods are always at hand. Then at the end of last year, we faced some extremely difficult circumstances regarding a close loved one. Finally, they say it takes about 6 months for a woman's body to fully recover after having a baby.
Needless to say, it's hard to accept that this is going to take more time. The most important thing is that the kids are my motivation. I want to be an example for them in every way that I can: God, Love, Health, and Behavior toward others are, I hope, good examples for them. It all takes work, and we are getting there.
Busy Busy Busy

We hope you all had a great end of your year, and that your new year has started off well. To give a quick summary of what is happening here:
- We've got the store moving forward! The electricity has been upgraded to support the freezers. A floor plan has been set. Sheetrock is being replaced. Finally, a cold room is in the works as well!
- Calving season is due to start soon! Our spring cows are due starting in March, and we can't wait to have little babies everywhere again.
- Our Pick Your Own is ordered and will be planted very soon! We are elated about this event. Keep an eye on social media to see our posts about the progress, and when we will be open for picking!
In the meantime, here is a lovely sliders recipe for your superbowl party.
Honey Bacon Sliders
Ingredients
- 2lbs JM2 Coarse Ground Beef (a wonderful alternative is a chuck, arm, or shank roast)
- 4 JM2 Chicken Eggs
- Salt and Pepper to taste
- 1 packet Ranch Seasoning
- 2 tbsp Worcestershire sauce
- 2 cloves Garlic, minced
- 1/2 Sweet Onion, diced
- 8 slices Cheddar Cheese
- 6 slices thick cut Bacon
- 2 tbsp JM2 Honey
- 2 tsp Brown Sugar
- 1 package of 12 dinner rolls (Hawaiian Rolls work great)
- Any other preferred toppings such as lettuce, tomato, or sauce
Instructions
- Preheat oven to 350 degrees and preheat grill/skillet.
- While the oven is preheating, lay bacon on baking sheet, spread evenly. Mix honey and brown sugar in a bowl and brush half over bacon. Bake for 15 minutes. Remove, turn over, and brush remaining honey mix over the other side. Bake another 15 minutes.
- While the bacon is cooking, mix the beef, eggs, and seasonings together in a bowl. Shape them into sliders and flatten them.
Note: If you need a size reference, make them slightly bigger than the buns because they will shrink slightly with cooking.
- Grill burgers for 2-4 minutes per side (or until at desired temp) add cheese.
- Add buns to oven (wrapped in tin foil) and bake for 15 minutes or as package instructs.
- Assemble with any other preferred toppings and enjoy!
*If using a roast, follow the same instructions with a crockpot, shred the roast rather than forming patties, and assemble with tongs on the bun.
Happy Thanksgiving

Happy Thanksgiving from the farm! We want to hear from you. Tell us what you're doing for this holiday, and what you're thankful for.
We are blessed to still be in business, have family coming up to visit from Houston, our health, and of course the littles in the gang. We are excited about the chance to take time and enjoy these blessings. Please comment on this email to share your happy thoughts with us! There's always a reason to share joy.
Provision

I try not to get preachy, but sometimes, it's just where my head is. The last month has been very trying. I gave a bit of an update a couple of weeks ago, but it really wasn't everything. That post was leading up to the real trouble that we encountered.
October is usually our second wetest month of the year, yet we got no rain. The corn grew, but the grazing wasn't keeping up the way we needed. The water tanks, also, weren't keeping up. A cow got stuck in the mud from the diminishing tank. We worked and worked to get her out. Everyone, especially the cow, were exhausted. She never managed to get back up again.
Two calves were born within a week of each other. During calving season, we check on the cows twice a day to make sure the calving is going well. The first of the two calves was wobbly and couldn't find good footing. We hurried to get this momma and baby to the barn. We managed to help the calf feed, but he never got enough stronger to manage on his own, and his back was showing more and more evidence of something wrong. The second calf born couldn't seem to find the right momma. She had decided a different calf was hers, and no matter how much we tried, she wouldn't stand still for him to nurse. They are both still at the barn, and we have to get her in the chute every morning and evening to make sure he gets enough milk.
We truly appreciate those that did make it out to the corn maze. Your support helps to keep us going. BUT, the maze was another bust. We had less than 50 people total over the entire event. We feel confident that God was telling us to stop doing the maze and start focusing on other aspects of the farm.
So, in 3 weeks, we lost a cow, a calf, had a momma not take her calf, and a failed event 4 times. Where is His provision in all of this? Where is He in all of this? I believe, it's in the strength He gives us each day to keep working. It's in the hug Little Bug gives me when I pick her up at school. It's in the tiny things every day that keep us safe, and give us purpose. Yes, right now we feel a need for a greater/different kind of provision. That doesn't mean its not there, or not sufficient. We are doing our best to praise Him in this storm.
Wrench in the Plan

Sometimes, the best laid plans still go awry. This season, we had anticipated having the corn maze open every weekend of October. We had hoped to have pumpkins on the vine. And, I had committed to carving a pumpkin for the first time.
Alas, none of this went the way we planned. On September 29th, we had a close family member experience a huge medical emergency. She is ok, but her recovery is taking time and help from her family. I am spending 3 days a week at the hospital. Hubby is there most evenings and weekend mornings. It’s a lot of time added to an already busy week schedule.
My absence from the farm, along with Golly and Gampy needing to watch the kids for me some meant that we couldn't open the first 2 weekends this month. We’ve been very disappointed about this closing, and hope it doesn’t prevent any of you from coming out and enjoying the maze. The help and time required from me also mean that I will likely not able to do the pumpkin, and have missed a couple of newsletters.
A completely separate problem with our pumpkins meant they didn’t grow enough. We planted them early enough to be ripe by now. We fertilized them, did all the things they needed, yet they took WAY too long to come up. They pumpkins are not ripe, so we bought some extras to sell.
I am still hoping to do the pumpkin. We will see if I get the time to do it. We thank you all in your patience and understanding. We appreciate your support in this difficult stage of our lives. I hope to see you all at the corn maze this weekend!
Anyone interested in going to the maze this weekend, tickets can be purchased below.
How to Carve an Impressive Pumpkin

Is it just me, or is it intimidating to carve a pumpkin? I want it perfect! Working on the bumpy/wobbly surface is a bit horrifying. Goes right along with Halloween, right?! One thing that I've never done, mostly because I'm too intimiated, is carve a pumpkin. Well, I have found a How To that I want to suck it up and try. By the end of October, I will share the results of my brave endeavor. Will you join me? Let's share our results together!
Many of you know that we grow our own pumpkins in the fall. I will find a pumpkin and carve it before the end of the corn maze. Will you do it with me? Maybe we can get Little Bug in on the action too. Here goes!
Step 1. Begin with the right pumpkin. Choose one that's fresh, with a sturdy stem, no bruises and a flat bottom so it won't roll while you carve.
Step 2. Start cutting from the bottom, not the top. Michael Natiello, pumpkin carving pro and creative director for The Great Jack-o'-Lantern Blaze, says cutting your "lid" from the bottom of the pumpkin helps prevent the sides from caving in later.

Step 3. If you do carve from the top, cut out the lid on an angle. This way, it won't drop inside the pumpkin when you put it back on top, like it would with a straight up-and-down cut. A boning knife should work well for this.
Step 4. Scoop out all the pulp (and then some). You can buy a special "claw" for pumpkin gutting, but an ice cream scoop will do just fine. Thin the inner wall of the "face" area to be 1¼-inch thick, so it will be easier to pierce the shell.
Step 5. Sketch out your design on paper first. If you draw your jack-o'-lantern face to size, Natiello says you can use it as a pattern: Just tape it to the front of your pumpkin and use a fork or pencil to poke holes along the lines you want to carve. Or, use a pumpkin carving kit, complete with a marker, scraper, cutting tools and pre-made patterns.
Step 6. Hold the pumpkin in your lap. It's easier to create features when the face is gazing up at you. Natiello suggests using a serrated kitchen knife or an X-Acto knife for carving, but to make intricate designs, you could try a small saw. Just don't cut on a slant — clean up-and-down slices look best.
Step 7. Start with simple rough cuts. If you get the big pieces of pumpkin out of the way first, you can go back and clean up the edges of your design later.
Step 8. Use your scraps creatively. Make a tongue, pipe or hair accessories out of a discarded piece of pumpkin shell, for example.
Step 9. Keep your pumpkin fresh. Natiello recommends spreading petroleum jelly on the cut edges to seal in moisture, which helps make your carved pumpkin last. If your pumpkin still shrivels a few days later, you can revive it with a facedown soak in cold water for up to eight hours.
Step 10. Light it up. Place your candle (or candles) into your pumpkin before lighting. If you don't want to use votives, try Christmas lights, especially those that blink for a spooky appearance. Or, save yourself the stress and go with battery-operated votives instead.
Step 11. Create a chimney. First, leave the lid on for a few minutes while the candle burns. Then make a small hole where the lid has blackened.
Step 12. Sprinkle cinnamon inside the lid. That way, when you light the candle, your jack-o'-lantern will smell like a pumpkin pie. Yum.
Perfect Game Day Beef Must Have

If you've got the Saturday football hype going on right now, you're in good company! My FAVORITE part of football season is the food. The trouble is, I get kinda bored of it by the end of the season. Here's your fix! The Perfect Game Day Beef Must Haves. Try one a week to change things up...don't worry, the guys won't say you jinxed anything.
Stay tuned to get all 7!
Recipe 1
Ingredients
- 2 lbs chopped/shredded beef (leftover JM2 Brisket or Chuck is perfect)
- 2 lbs cheese, cubed
- 2 cups Mexican-style shredded cheese
- 10 oz diced tomatoes
- 1 diced bell pepper
- 1 onion, diced
- 2 tbsp crushed garlic
- 1/2 cup milk, up to 1 cup if needed
- 1 avocado, sliced
- Jalapeños to taste
Instructions
- Add brisket, cheese, Mexican-style cheese, tomatoes, bell peppers, onion, garlic and jalapeños to pan. Cover and cook for 30 minutes at 350° F.
- Remove from oven. Add milk and stir. If the cheese does not blend into a thick sauce, but remains chunky, add more milk. Top with avocado.
Heath and Fresh Food

It's been a minute since I posted about weight loss. It can be a MAJOR challenge to lose during pregnancy and within the first months of having a baby. With Little Bug, I was so sick through the pregnancy that I lost 30 pounds. With Little Monster, I just struggled with specific foods and textures, and gained 15 back.
Either way, food was a problem. Finally, about 3 months after having Little Monster, I was able to start eating right again. The main idea behind Paleo is starting with the fresh raw ingredient yourself. It's the same idea with Daniel Plan. This is a pretty big challenge on its own. This means A LOT of cooking and meal prep.
Little Monster is now 7 months old, and I have lost 7 pounds. Oh my goodness it has been hard. Not only is it next to impossible to find a chance to work out, but trying to cook for 4 people who all eat different food. Hubby has been eating my food, PLUS his own. Little Bug gets her own food, usually some of what we cook with modifications and something only she gets. Then Little Monster gets a bottle and something new to try.
It's not just about weight loss though. It's about energy, mental health, self-confidence, and being the best mom and wife I can be. Last night we made tacos. The beef, peppers, onions, and tomatoes all came from the farm. They were some of the best tacos I have ever had. Not only that, Little Bug ate every bite. She ate bell pepper and onion...WIHTOUT COMPLAINT!
I left that dinner table content with my own meal. I had no grains, had fresh vegetables and protein, no dessert, and I still left feeling satisfied. I was able to manage both kids, and getting a meal on the table without losing my cool. My daughter ate a healthy meal with different food groups, and didn't complain about it at all. My husband went back for seconds, and didn't snack after. This morning, I was down another pound.
Side note: I also got Little Bug to help get it cooked! :D
I feel like these are challenges every mom faces at some point. We compromise in so many ways. We can't eat the way we need to, and still please the whole family. So we usually cook for everyone else. We often aren't satisfied with the food ourselves and listen to complaints when we make the food we need. We battle through getting dinner on the table with the racket in the living room and kids crying. The kids NEVER want to eat what we made...they wanted it yesterday or tomorrow...even though they told us they wanted it tonight.
If you're feeling this way, we have 1 little first step to help! Get your local, pasture raised farm products from our farm. Your family will enjoy it, and you will feel better about yourself and your role in the family when you know you're giving them quality food.
How To Fry the Perfect Egg

Breakfast is one of my favorite meal types...though if you're like me, you probably don't eat this food at breakfast. Few things, in my most humble opinion, are better than a perfectly fried egg! When you break that yolk and the liquid gold comes running out all over the plate, my mouth waters just thinking about it.
Well, here are 5 steps to getting the perfect fried egg every time!
In a medium, preferably nonstick skillet, heat enough oil (fat) to just cover the bottom of the pan over medium-high until shimmering. It may look like a lot of oil, but you’ll need it. Tip: Any kind of fat will do. If you cook some kind of meat first, the leftover grease is just fine. Olive or Avocado oil are probably the healthiest.
Add 2 large eggs, one at a time and spacing evenly apart, shaking pan gently between additions to allow edges to set without sticking together. Tip: A 10" pan does 2 eggs. If you need to cook more at one time, we suggest scaling up.

Cook eggs, shaking pan occasionally (and using a rubber spatula to help tease apart any edges if needed) until edges are golden brown, about 2 minutes.
Tilt the pan toward you to pool oil at the base and using a soup spoon, spoon the hot oil over the egg whites (avoiding the yolks; you want them runny) to cook them anywhere they are still translucent (that's called basting), about 1 minute more. Tip: If you usually flip your eggs, you probably break at least 1 each time. If you baste, you don't have to flip. If you like your yolks more solid, spoon oil over them.
Season eggs with salt and eat immediately.
Chef Tip: Go hot or go home! You want the oil in your pan to be almost smoking before those eggs go in, especially if you’re using anything other than a nonstick skillet or well-seasoned cast iron—cold whites hitting a not-hot-enough stainless-steel pan are going to stick.
How We Use Them: Tuck them into a breakfast BLT, amp up a burger, or top your perfectly seared steak. Crispy fried eggs are good on basically anything.
Click the link below to get your first dozen eggs to try this out!
What's Up Buttercup
Wow this summer went so fast. Anyone else wondering what happened? I think it's that they started school so early this year. Here on the farm has been busy.
Have you been mowing more than you remember without having to water as much? We have been cutting, raking, or baling hay, seems like every day this summer. God was gracious with the rain. The native grasses and weeds seem to be 10ft high in places. It's definitely been a good year for grass.
On the grass note, we are looking into getting goats (seasonally) to help manage the grazing. This could mean seasonal goat meat! We've also gotten some more chickens! The grandkids, there's 5 now, are super excited about having their own chick. Three of these chicks are named: Dottie - Farm Boy's, Nacho - Little Bean's, and Little Skye - Little Bug's. Wow that's confusing. These are the three kids that can talk.
The cows are fat and happy right now. Calving season will be starting soon, so get ready for the social media pictures!
We have a debate going about what words or pictures that catch people's eye. If you're looking for beef, eggs, or honey, what words like Organic might catch your attention in a positive way? If you recieve a farm flyer, what kind of picture will get your attention? Kids with animals, kids playing, or farm equipment/property/animals? Let us know in the comments! We want to get to know each of you!
Also, if you got my email last week, and it took you to a product page, please forgive me! I swear I'm a tech person, but somehow I made that audacious blunder. Below is the link to your free recipe book as a thank you for joining us in this journey on the farm!

Ground Beef Primavera - Not plain spaghetti

INGREDIENTS:
- 1 pound Ground Beef
- 1 (14-1/2 ounces) can reduced-sodium beef broth
- Uncooked whole wheat rigatoni or penne pasta (tricolored is always fun for kids)
- 2 zucchini or yellow squash, cut in half lengthwise, then crosswise into 1/2-inch slices
- 3 Diced tomatoes (chunky)
- 1-1/2 teaspoons Italian seasoning
- 1 cup chopped fresh spinach
COOKING:
- Heat large nonstick skillet over medium heat until hot. Add Ground Beef; cook 8 to 10 minutes, breaking into 3/4-inch crumbles and stirring occasionally. Pour off drippings.
- Stir in broth, pasta, squash, tomatoes and Italian seasoning; bring to a boil. Reduce heat, cover and cook 9 to 11 minutes or until pasta is fork tender and squash are almost tender and sauce is slightly thickened, stirring occasionally.
Add an extra dimension with pan fried eggs and mushrooms for your adult plates.
You can even give this pasta to your early eaters (less than 1 yr). Just make sure you use pasta that is no bigger than the width of your pinky finger.
Practically Perfect Portioned Chicken
Have you ever rushed to the grocery store in a hurry to get a dinner on the table when you've got no time to cook? You want to keep the meal fresh and healthy, but the microwave seems the only viable option because you just don't know how to use a rotisserie chicken. Do you ever buy it, but feel like it makes a mess coming apart? I'm about to save your dinner portioning. No more fear in using this quick meal option!
Portioning a chicken is relatively simple, though there are multiple ways of doing it. I am going to walk you through the most common method. It'll only take you 5 minutes the first time. You probably know the parts: Wing, Breast, Thigh, and Leg (Drum). The main trick is identifying the joints. Keep in mind that portioning a Rotisserie Chicken is easier because the cooked meat is more tender. If you want practice before cooking a whole chicken yourself, I recommend using a Rotisserie. All you need is a chef's knife and a whole rotisserie chicken. Cut locations are indicated with red lines.
Leg Quarter:
With the breasts up, find where the thigh meets the body (hip area). Use your fingers to find the joint. It will be underneath and feel very hard and knobly. You might even push the joint down the leg a little to ensure you are feeling the correct place. Insert your knife in the middle of the joint, pushing/cutting through the meat and skin as you go. You can slice the skin first if its easier. Separate the leg and put it aside. Repeat with the other leg quarter.

wing:
There are actually three parts to the wing. Drumlette, Winglette and Tip. Turn the chicken over so you are looking at the back. If you take the Tip and Drumlette in your hand and extend the wing, you can see the three segments of bone and three joints. The joint closest to the body is where you will be cutting. Give the wing a few light twists to find the joint as you did with the leg quarter. Run your knife around the joint to slice the skin, then push the knife through the joint. You can twist the whole wing once the skin is cut, and the joint will break away. Repeat with the other wing. Set this aside as well.

Breast:
Some say this is the easiest part. Find the Indent between the two pieces of meat. This is where the breast bone is, and you can feel a hard ridge down the middle. Run your knife superficially down the length of the chicken on either side of this breast bone. After you've cut through the skin, use the length of the knife blade to cut downward until you feel the resistance of the chicken bone. Turn the sharp side of the blade outward to continue cutting the breast away from the bone. Repeat on the other side. Ideally, you stay under the breast to separate as much meat from bone as possible.

Separating the Leg Quarters and Wings:
The leg quarter should have a thigh and a drum connected by a knee joint. Just as you did with the other joints, use your fingers to find the connection between the drum bone and the thigh bone. Run your knife around the joint to slice the skin, then push your knife through the joint. If you're having difficulty finding the joint, you can push it upward to separate the bones. Then push your knife through the dip created.
** Note: If you turn the quarter skin-side down, you may be able to see the joint more clearly.

As described before, the wing has 3 parts. Most people don't bother with the tip, but it does have a nice crispy taste if you decide to use it. Run your knife around each joint to cut the skin, then push the knife between the bones. If you have trouble finding the ends of the bones, use your fingers to feel them, or even separate them by pushing the joint upward.

Enjoy your delicious Rotisserie Chicken! Check out next week for a recipe to use the bones and leftover meat in a tasty instapot meal.
Farm Fun

Everyone enjoying summer? Kids had enough swimming time? Are they bored yet? It gets really busy here. Maybe make them do some gardening :)
Hay season has started. We try to get about 1 cut a month. This gives the grass time to recover from the previous cut. May is the earliest we cut. Fertilizer has to be applied right before a rain, and it has to be dry enough to cut, rake, let grass dry, and finally bale. This time of year at least it doesn't take long for everything to dry out. The trouble happens when it doesn't rain for the $10,000 worth of fertilizer that has to be put out after each cut. If it doesn't get rained on, most of the fertilizer evaporates, and can actually damage the grass.
This year, hay was cut the same week of Camp Golly! Little Bug and her cousins, Farm Boy and Little Bean, all got to help Gampy cut and rake. Farm Boy actually got to help bale! Little Bug spent the whole round talking to Gampy about the tractor. Poor Little Bean fell asleep in her Gampy's arms. Farm work can be hard.
Since the grazing isn't getting rain either, we have to move the cattle a lot. This means lots of fence movement and repair. We have rope fences to help split up larger pastures. Permanent fencing can be very expensive, and less flexible in grazing management. Moving the fences allows us to use a less expensive form of fence and to change the gate location. Cattle tend to tear up the ground when you send a bunch of them through a small space like a gate.
The drier season also means taking water to the cattle. We found out in June, the water trailer had busted pipes from the minor freeze we had this winter. We had to get that fixed quickly so our cattle had water.
The cousins had a blast going out and calling the cows to the next pasture. Three kid voices yelling "Com'on Cows!!!" is worthy of Funniest Home Videos. Monster is still abit too small for all the fun. He and I spend most of our time in the office. We've got everything set up for him. He has a high chair at my desk, pack'n'play for tummy time and nap, and a play table. He does do a little here and there, but it's really hot for him. If I need to be out of the office, Golly gets some computer work done.
We've also got our MILPA garden! We planted one acre of summer harvest plants. The company that sells this mixture, give every planter the first acre for free with the condition that half of the food harvested get donated to local food pantries. We are so excited for the opportunity to contribute to helping feed America, that we jumped on this chance. Check out our MILPA page to see what all is growing. The picture shows some of what we've picked this year. Everything is planted together, and the mixture is designed so that every plant has a contribution to the group. Some of the plants have insect repellant properties. Others replace important nutrients into the ground, like nitrogen. It's an example of the mission of this farm: Feeding the world, and using nature to accomplish the goals of maintenance like pest control. There's a lot more that goes on this time of year, but to tell it all would make a novel. It's definitely a fun time of year.
Shredded Beef Breakfast Quesadillas

Those traditional breakfasts, and roast recipes are feeling a bit tired. We've all had pot roast, roast beef, and stew. We live in a time of adventure in our dining. So what do you do with those same cuts? Here's a way to spice up your breakfast and eat those roasts that you have no idea how to use.
INGREDIENTS:
- 16 ounces cooked beef, shredded or chopped into bite size pieces
- 12 large eggs, slightly beaten
- 12 medium flour tortillas (alternative flour options welcome)
- 4 cup shredded Mexican blend cheese
- 1 can diced tomatoes and chilis, drained
- 1 packet taco seasoning
Toppings (optional): Sour cream, salsa, chopped cilantro, guacamole, taco sauce
COOKING:
- Overnight, cook shreddable roast in crock pot on medium/high heat for 8 hrs. Separate about 1/3 of the beef for quesadillas and shred it. Reserve the rest for another recipe.
- Heat large nonstick skillet over medium high heat until hot. Add beef and eggs; cook and stir until eggs are scrambled. Add can of tomatoes and chilis, and season with taco seasoning.
- Top each of two flour tortillas with cheese. Evenly divide beef mixture between two tortillas. Top each with half of the remaining cheese. Place remaining two tortillas on top.
- Wipe out skillet. Heat skillet over medium heat until hot. Cook quesadillas, one at a time, 2 minutes or until tortilla is lightly browned. Turn and continue cooking 1 to 2 minutes. Cut each quesadilla into wedges. Serve with toppings, if desired.
Note, if you use a roast or brisket point, there will likely be 2lbs of meat leftover. Check out some of our other roast recipes @ to use the rest of your roast
How To Win An Eating Contest

This one is a little silly, but have you ever wondered how people get ready for an eating contest? Personally, I am not particularly interested in participating, but I have always wondered how people do it. I either think hot dogs, or hot wings. I've done a little research, and have some tricks. First, the common rules.
Rules
Competitive eating contests often adhere to an 8, 10, 12, or 15 minute time limit. Most contests are presided over by a master of ceremonies. A countdown from 10 usually takes place at the end of the contest, with all eating coming to an end with the expiration of time.
Many professional contests also employ a series of judges, whose role is to enforce the contest rules and warn eaters about infractions. Judges will also be called upon to count or weigh each competitor's food and certify the results of the contest prior to the winner being announced.
Many eaters will attempt to put as much food in their mouths as possible during the final seconds of a contest, a practice known by professionals as "chipmunking". If chipmunking is allowed in a contest, eaters are given a reasonable amount of time (typically less than two minutes) to swallow the food or risk a deduction from their final totals.
In many contests, eaters are allowed to dunk foods in water or other liquids in order to soften the food and make it easier to chew and swallow. Dunking typically takes place with foods involving a bun or other doughy parts.
Competitors are required to maintain a relatively clean eating surface throughout the contest. Excess debris after the contest results in a deduction from the eater's final totals.
If, at any point during or immediately after the contest, a competitor regurgitates any food, he or she will be disqualified. Vomiting, also known as a "reversal", or, as ESPN calls it, a "reversal of fortune", includes obvious signs of vomiting.
Training and preparation
Stomach elasticity (ability to stretch quickly) is usually considered the key to eating success, and competitors commonly train by drinking large amounts of water over a short time to stretch out the stomach. Others combine the consumption of water with large quantities of low calorie foods such as vegetables or salads.
Jaw strength is considered another important factor. You can chew the food more quickly to a size you can swallow. Some eaters chew large amounts of gum in order to build jaw strength.
Perhaps paradoxically, maintaining a low body fat percentage is thought to be helpful in competitive eating; this is known as the belt of fat theory.
Wet foods are easier to eat as well, so many do try to employ a dunking method whenever possible.
Hamburger Steaks

Elevate your Salisbury Steaks with this Recipe. It takes less than an hour, tastes delicious, and you can even include your kids in the prep. Make sure to order ground beef. It's on sale until July 3rd!
Ingredients
- 1 lb. ground beef
- 1 large egg
- 3 Tbsp. flax seed meal
- 1 tsp. garlic powder
- 1 tsp. onion powder
- 1/2 tsp. paprika
- Kosher salt
- Freshly ground black pepper
- 2 Tbsp. extra-virgin olive oil
- 2 Tbsp. coconut oil
- 8 oz. sliced baby bella mushrooms
- 1 small yellow onion, thinly sliced
- 2 Tbsp. almond flour
- 1 1/2 c. low-sodium beef broth
- 1 tsp. A1 sauce
- 1 tsp. fresh thyme leaves
Directions
- In a large bowl, combine beef, egg, flax seed meal, garlic powder, onion powder, and paprika. Season with salt and pepper. Divide beef mixture into 4 patties, then flatten to ½” thick oval patties.
- In a large skillet over medium heat, heat olive oil. Add patties and cook until golden and cooked through, 6 to 8 minutes per side. Remove from skillet and set aside to keep warm.
- To same pan, melt coconut oil. Add mushrooms and onions and cook until softened, 5 minutes. Add flour and toss to coat veggies. Slowly whisk in broth, then add A1 and thyme. Bring to a boil, then reduce heat to a simmer and let simmer until thickened, about 5 minutes. Season with salt and pepper.
- Return steaks to skillet and spoon sauce over. Heat until warmed through.
Tip: Add bell pepper and a slice of swiss cheese for each steak to give it a Pilly Cheesesteak twist.
Baby In Tow

How many moms would love to have their kids at work with them? What do you picture? Here's what I imagine many picture:
Lots of snuggles because baby tags along with you. Feeding whenever/wherever without a care. Naps happen naturally because baby is on his own schedule. Play time is whenever you decide because they are right there. Lots of smiles, laughs, and cuddles. Most of all, BONDING! Plus the fulfillment of getting to work and do your own thing. You still have your second income, and don't have to pay for a babysitter or daycare.
This is SOMEWHAT true. Yes there is bonding, smiles, and you do have the income/daycare benefit. However, the schedule is not natural. There are lots of tears and frustrated cries because he has a need that cannot be met that second. There is minimal fulfillment in work for Mommy because the balance is so difficult. Little Monster's needs come first...always
Little Bug wouldn't sleep more than 45 minutes at a time, and wanted our attention when she was awake. I couldn't get any work done on office days. We would sit as quitely as possible in a dark office to try and squeeze out every second of sleep and computer work we could. Since the weather was cooler, she was able to go around with us and do more. Outside work was way easier. Now with Little Monster, it's too hot to take him anywhere outside. We spend nearly all our time in the office. He does sleep way better though.
Baby's schedule becomes very dependent on what has to get done. We wake up when it's time to leave for work. We eat, in the usual 3hr window, when Mommy can stop what's going on to feed. Even though our natural nap wants to start around lunch, we wait until we can get inside for lunch. Then nap gets interrupted because lunch is over and it's time to go back to work. Or, mommy takes her stuff to work in the house for a bit. He's having to learn to be very flexible.
Office space isn't very conducive for snuggles, feeding, napping, anything but work. We had to set up a pack'n'play in the barn office to provide him a sleep and play space. Not so different from at home, except that there's cow poop, chicken poop and mud on the foor.
There's a lot of work that goes into making it happen. I have work day, and family time at the same time. Two jobs in one time window. Many days I don't get more than 1 or 2 small things done. And, as much as I hate the heat (over 72 is too hot for Mommy), I feel a need to do things outside that I simply can't take him with me to get done.
It is truly a blessing to have him along! I certainly don't want to give the impression it's not. I get so much time with him that I really feel like I know him. I don't have to share him with a daycare teacher. I get to see all the firsts. I get all the snuggles. I just pray for the grace to be able to cherish all of this rather than dwell on the difficulties. So when people say: "Oh you get to take him with you to work? That's such a blessing!" I can agree with them honestly.
Dollar Tree Summer Activity Kits

I love these ideas. There have been loads of posts on social media asking about what food to have for your kids, activities to keep them busy, and places to go with them while they are on summer break. Please share your thoughts with us. What are you doing with your kids or grandkids? Any fun snacks, sleepover games, book recommendations, or crafts? Since we can't do as much outside, I plan to set up a fan in the garage, or a paint tarp in the kitchen for the crafts in this video.